| Bulb Modelling Tutorial - Page 8 |
|
|
|
Step 18:
With a series of bevels, Bowl the shape outwards to conform to the bottom
of the bulb object. Extrude Inner *outwards* once, then Extrude UP once
to form a small lip at the top edge. Now, delete the polys at the top
of the object.
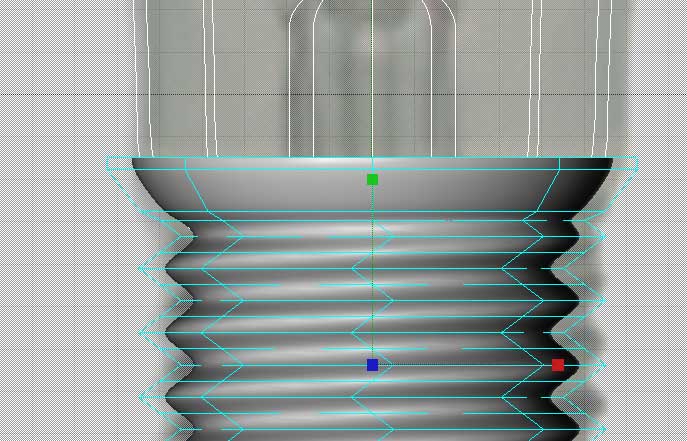
Now, if we look at the shape that has been created, its a bit "wrong".
The area where the screw threads are appears to be too narrow. This is
common with Hypernurbs modelled objects - the object tends to "shrink"
inside of the poly cage that defines it. We also have too many rows of
screw thread. We'll fix these problems in the next step.
|
|
|
|
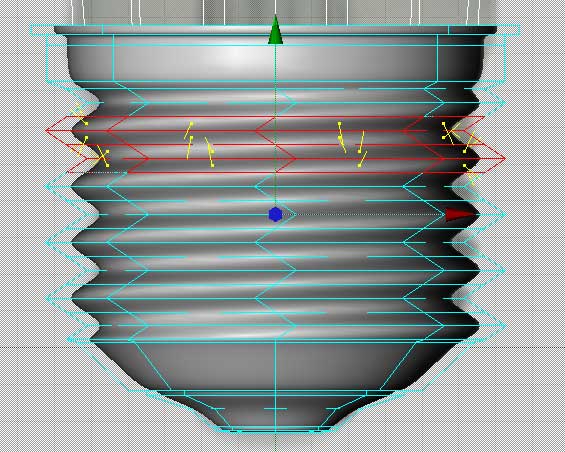
Step 19:
Over all fixes: Switch to point mode and select all the points in the
object below the top lip you formed, and pick the SCALE tool. Click the
Y axis icon on your tool bar so that you will be scaling in X and Z only,
and scale the object to more closely conform to the template image, as
seen above.
Now to fix the screw thread. Using the Rectangle selection tool, and making
sure Only Select Visible Elements is OFF in the Active Tool pane, select
four rows of "thread" polys and delete them. Go to the STRUCTURE
menu and OPTIMIZE to clean up the points that are left behind. Now, switch
to point mode and click on one of the points at the top edge of the missing
row, and note its Y value. Click on the point opposite at the bottom of
the missing row, and note its Y value. Subtract the two values to arrive
at a difference value. Now, select all the points at the top part of the
object. You will see an averaged Y value in the Coordinates pane. Subtract
your difference value from this, and type the new value in and hit APPLY.
The top part of the object should move down into the gap. Now go to the
STRUCTURE menu and OPTIMIZE to weld the edges together.
|
|
|
| With a row of screw threads
removed, the object is now a bit too short. Chose the Scale tool, and by
dragging on the green Y axis, scale the now shorter object up so that its
at the right vertical size again. Reposition it in Y to line up with your
template image. At this point everything should be looking pretty close
to the final geometry and we are ready to texture the object. |
|
|
|