| Bulb Modelling Tutorial - Page 9 |
|
|
|
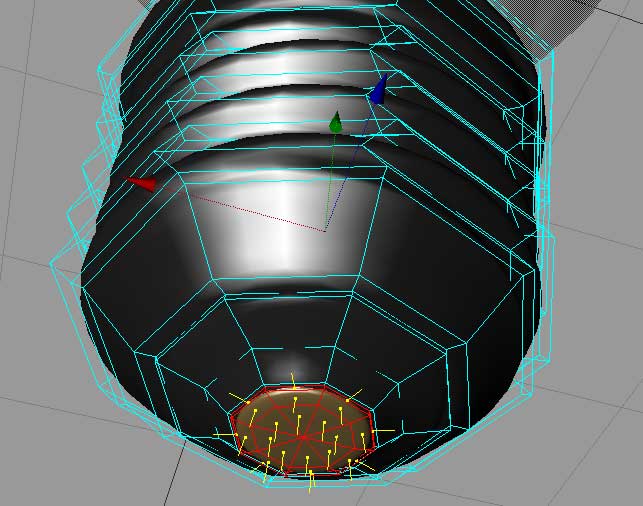
Step 20:
Create glass and metal textures and apply them to the bulb and cylinder
objects respectively. Create an insulator texture, and apply that to the
cylinder object as well. In the texture attributes tag, type "Insulator"
into the Selection and the texture will be restricted to only the Insulator
polys we defined earlier. I decided I wanted another texture on the "button"
area, so I went back into Poly mode, and using the Live Selection Tool
with "Only Select Visible Objects" turned on in the Active Tool
pane, I selected the 8 polys at the bottom of the object. Then i used
GROW SELECTION from the SELECTION menu twice to select all the polys that
make up the button. SET SELECTION from the SELECTION menu should make
a second triangle tag appear on the cylinder object. Select that tag,
and in its basic tag properties, change its name to "Button".
Make a brass texture, and apply that to the cylnder. In the Selection
area of the texture attributes tag, type "Button" and the texture
will be resticted to that selection (shown above).
|
|
|
|
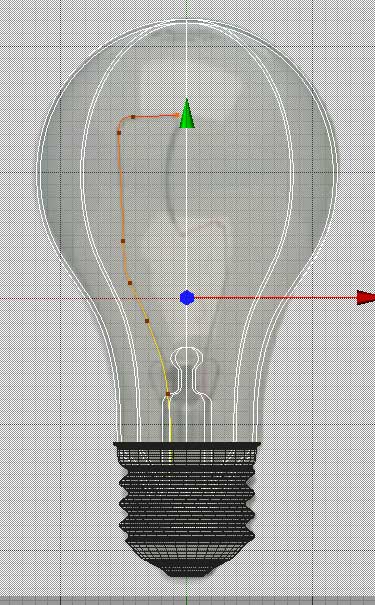
Step 21:
In the FRONT view, add a SPLINE object, and switch to POINT mode. using
the CTRL key, draw a spline down the wire inside the bulb. Add a SPLINE
PRIMITIVE - CIRCLE to the scene. Set the circle radius to 1.
|
|
|
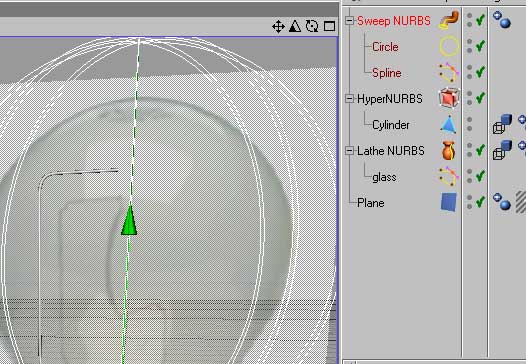
| Add a SWEEP NURBS object to
the scene and nest the spline and the circle in it as shown above. They
must appear in this order - if everything goes right, the spline path will
turn into a thin pipe. Using a similar technique model the other wire, and
the filament. |
|
|
|
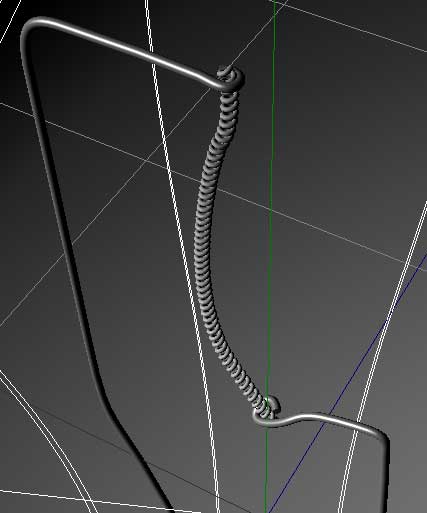
Step 22:
You can further edit the wire splines to form little loops to hold the
filament. I chose to create a coiled filament here using the following
steps: I created the spline path for the flilament using a spline object
and drawing the path just like for the wire supports. In the spline attributes,
I changed its Intermediate Points value from Adaptive to Uniform, and
changed the Number value to 180. I added a SPLINE PRIMITIVE CIRCLE to
the scene and set its radius to .5 units. I clicked the MAKE EDITABLE
Icon to convert it into an editable spline object. I added a SWEEP NURBS
object to the scene, and nested the filament path and circle to it, just
like shown above for the wires. Now to make it coil like a spring: In
the Sweep Nurbs Attrributes, I changed the Rotation parameter to 19000.
Select the Circle spline nested under it, and go to AXIS mode. In the
Coordinates pane, set the Pitch Rotation of the axis to -90 and the X
Position to 1.25. Voila... a coiled filament.
|
|
|
Step 23:
Some texture and setup finesse steps later, you will have a very realistic
looking lighbulb object, suitable for framing. If you are going to use
this object in another scene, you'll probably want to add a null object
and nest all the sub objects created in this tutorial inside of it.
James Hastings-Trew
|
|
|
|