| creating normal maps with cinema 4d part 1 | |
 An example of a first generation 3D game engine texture. Color and shading are ecoded into the color map. |
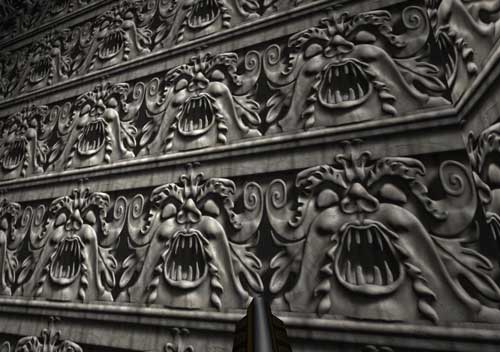
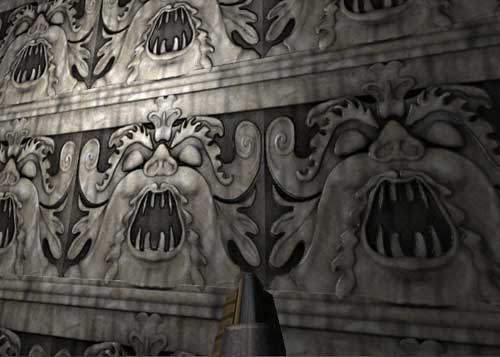
What is a Normal Map? In the early days of 3D video games, textures on surfaces consisted of color information only. The texture would be a picture of whatever material the designer was trying to convey - brick, stone, vegetation, wood, etc. - and would contain shading information as well as the texture and color to create the impression of a complex, dimensional surface. In the earliest games (Doom, Marathon, Duke Nukem) in-game lighting of surfaces was restricted to the level designer assigning various brightness levels to them to simulate lighting and shadowing effects. The effect was harsh, sharp edged, and only abstractly "realistic". In the second generation of 3D games (Quake, Unreal) a light map was combined with the color map to create a more realistic sense of shading and soft shadowing. The trouble with this technique is that the shading on a particular texture would often be at variance with the perceived sources of light in the scene in which they were used. For example, a texture might be drawn as if it were lit from the upper left, but in a particular scene, the actual light source may be from the right, or below the texture.
|
|
|
A new technique was developed, generically called "bump mapping". In its simplest form, a texture on a surface contains two textures - a color map and a second map that contains the height information for the surface. A height map would be a gray-scale image that encodes height information as shades from black (the lowest) to white (the highest). The game engine is able to use this height map to render highlights and shadows on the surface according to where the lights in the scene are located, resulting in a vastly improved surface realism.
There is a limitation to simple height mapping techniques - the game engine is restricted to portraying transitions in elevation only, resulting in a flattened appearance of the actual height information the designer is trying to convey. Fine details get blurred out of the bump map render, because a single pixel contains no real data of its own - it is only in relation to its neighbors that it has any meaningful information. A 100% white height map renders exactly the same as a 100% black height map. A game engine looking at a height map has to take a sample of a certain radius around each pixel to determine if this pixel is the same relative to its neighbors, or sloping up, down, to the left or to the right, before it can rendering the shading on that surface. This sampling slightly degrades the detail that can be portrayed with the height map. |
|
|
Enter the "normal map". While a height map only contains 1 plane of information - the "Z" (height) plane, a normal map contains 3 vectors of information - "X" direction, "Y" direction and "Z" direction. Thus, each pixel in a normal map encodes which direction that particular point is facing - the "normal vector" of the surface. Each pixel in a normal map has meaningful information, so details can be rendered more crisply than with bump maps alone. This allows modern game engines (Doom III) to more realistically portray the lighting on a surface. A properly constructed normal map can fool the eye into perceiving much more complex 3D geometry on a simple surface. Theoretically, normal maps on a cube can make it appear spherical, at least in terms of shading properties (the outline remains unchanged).
Normal maps use three channels of information to encode their information. This can be conveniently mapped to a standard RGB image. The red channel is used to encode normal vectors in the X direction. 100% red indicates a vector facing right - an X normal direction of +1. 0% red indicates a vector facing left - an X normal direction of -1. A 50% value in the red channel indicates an X normal component of 0. Similarly, the green channel encodes normal vectors in the Y direction. 100% green indicates a vector facing up - a Y normal direction of +1. 0% green indicates a vector facing down - a Y normal direction of -1. 50% value in the green channel indicates a Y normal component of 0. The blue channel encodes normal vectors in the Z direction. 100% blue points straight out of the surface. 0% blue points straight behind the surface. A value of 50% in the blue channel indicates a Z normal component of 0. Normal maps don't contain values below 50% in the blue channel since these would be pointing behind the surface. Where Can I Work With These Normal Maps? How Can I Use My Current 3D Program To Make These
Normal Maps? |
| close window | |


this site works best on Firefox: |