| Bulb Modelling Tutorial - Page 1 | |
| I've not attempted a tutorial on modelling before, and it is not my intention to explain what the effect of each tool used in the process is, but to give an overview of the process itself. This tutorial is not aimed at beginners to C4D - it assumes that you know how to use the poly modelling tools and how to navigate the various attribute panes in the program. A fellow emailed me asking how to do the base of a lightbulb, as seen in a couple of my renderings, so I thought this would make a good subject to introduce a few concepts. There are a LOT of pictures so this tutorial is spread across a number of pages. Lets begin: | |
 |
|
|
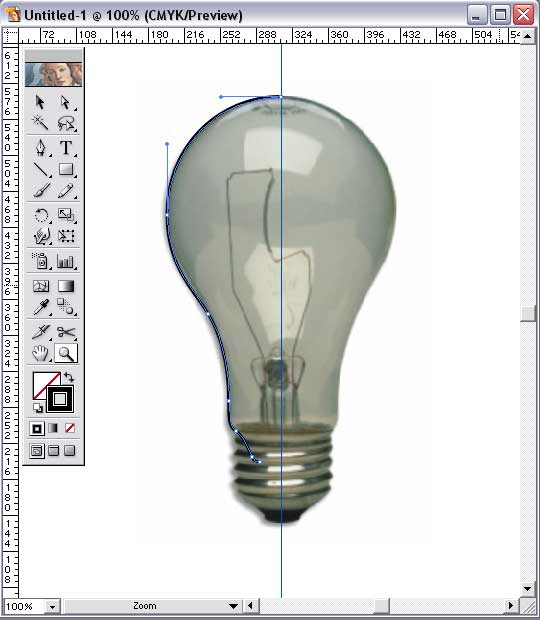
Step 1: |
|
 |
|
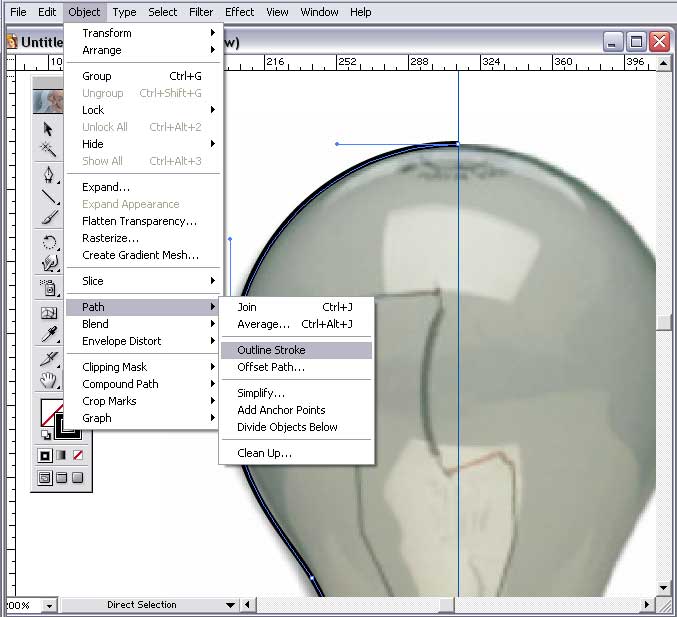
| Step 2: I gave the curve I drew thickness by increasing the stroke value. In this example I used 3 points so that the effect would be visible in this tutorial. In practice, the real thickness of a lightbulb glass would be 1 point or less. Once I am happy with the curve, I chose Object/Path/Outline Stoke. This turns my single line bezier into a precise width double line - something extremely difficult to do with Cinema 4D's bezier curve tools. |
|
this site works best on Firefox: |