| Bulb Modelling Tutorial - Page 2 |
|
|
|
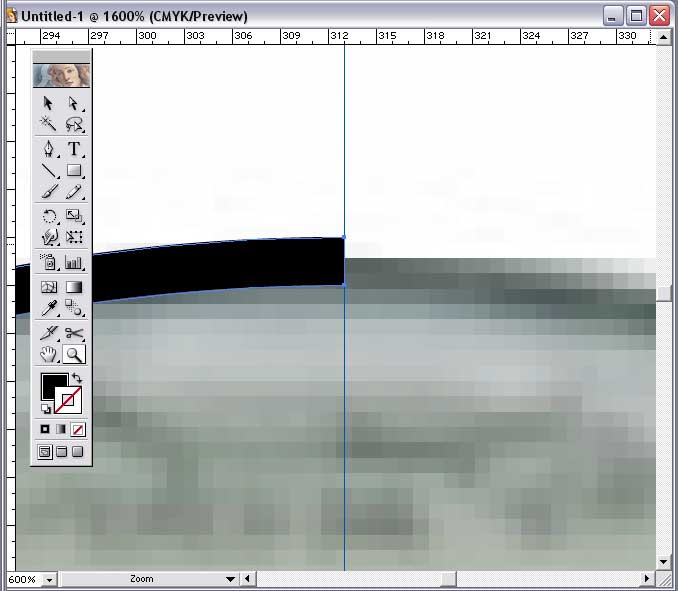
Zoom in and make sure that the curve hits the guide line at the top,
and the two points there are lined up with the guide exactly.
|
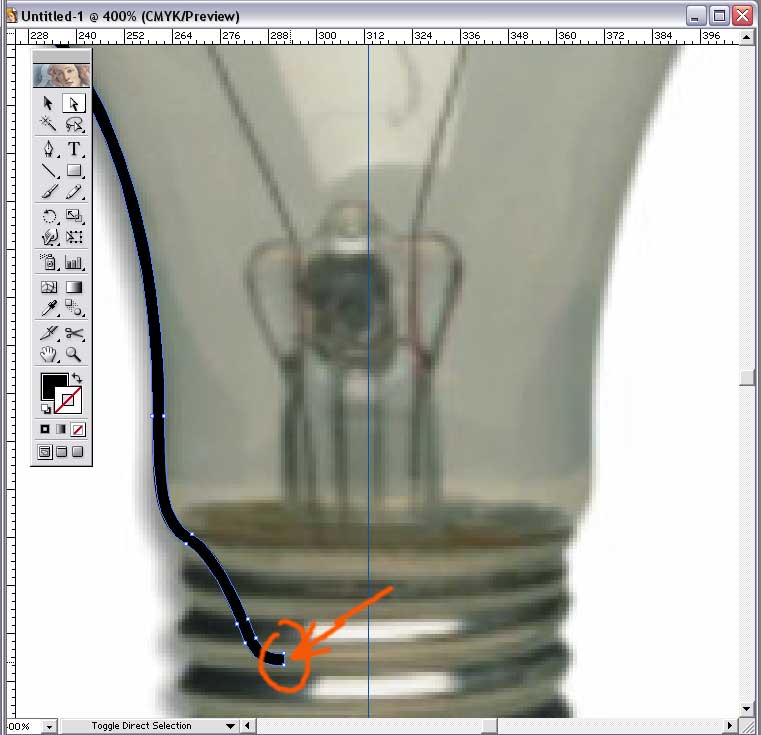 |
Step 3:
Select the line segment joining the two points at the bottom of the curve,
and delete it. We will be drawing more of the glass at this point. |
 |
|
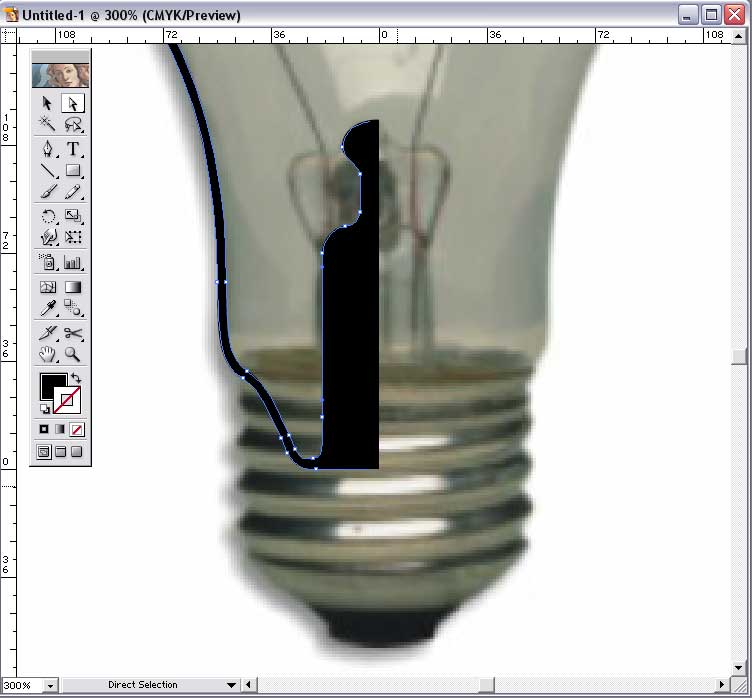
Step 4:
Complete the curve for the glass. You'll have to sort of wing it, using
the photo as a guide. In the example here I pretty much ignored the details
in the photograph and created a column inside the glass for the wires
to attach to. Every make of lightbulb is slightly different so you can
use some artistic license here. Make sure the end points line up on the
guide exactly. Press CTRL-R to make the rulers visible (if they are not
already visible). In the upper left corder of the ruler you will see too
crossed dotted lines. This is the zero point of the ruler. By clicking
and dragging on those lines, you can reposition where the zero, or origin
point, of your drawing is. Now, drag the zero point on the rulers down
to the bottom point of your glass curve so that the origin sits there
exactly. This point will now be positioned at 0,0,0 when this curve is
imported into Cinema 4D. Remove the guide line (important!) and the bulb
image, and save the curve out as an Illustrator EPS file, version 6.0,
no preview, no thumbnail.
|
|
|
|