| Bulb Modelling Tutorial - Page 4 | |
 |
|
|
Step 8: |
|
 |
|
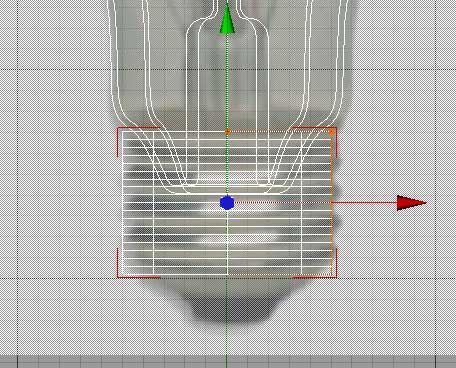
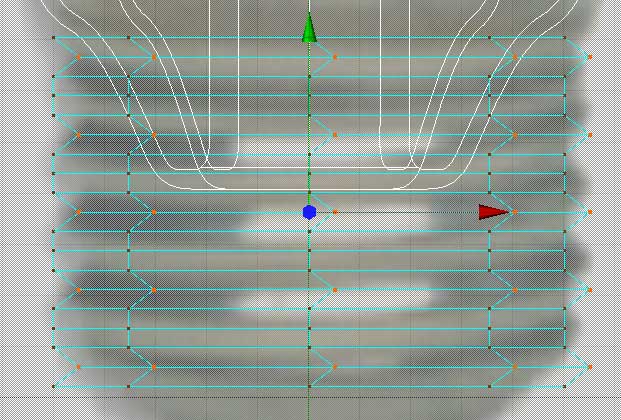
| Step 9: This is the part where you will be scratching your head trying to figure out how this series of steps results in the screw threads of the base. I am not sure I understand it myself. But it works. Chose the Rectangle Selection tool, turn off "Only Select Visble Elements" in the Active Tool Properties, and while holding down the SHIFT key, select every fourth row of points in the cylinder, making sure to not select the first or last row. Move these points some small amount in the X direction - I used 5 units in this tutorial. |
|
 |
|
|
Step 10: |
|
this site works best on Firefox: |