Bulb Modelling Tutorial - Page 5
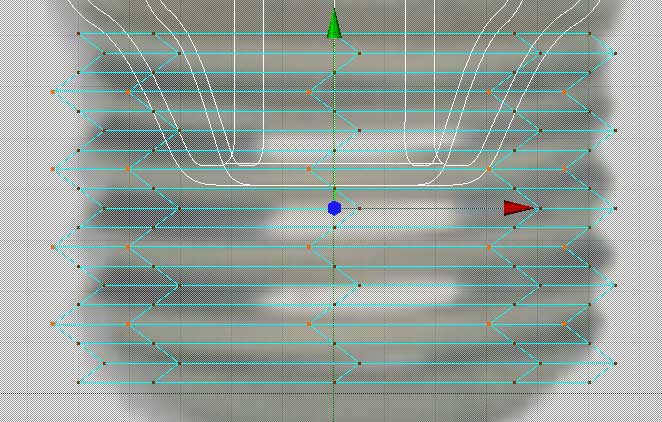
Step 11:
Select the third set of row (shown above) and move them -5 units in X.


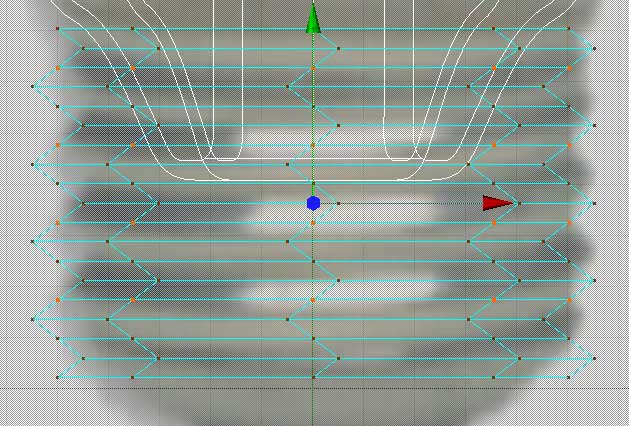
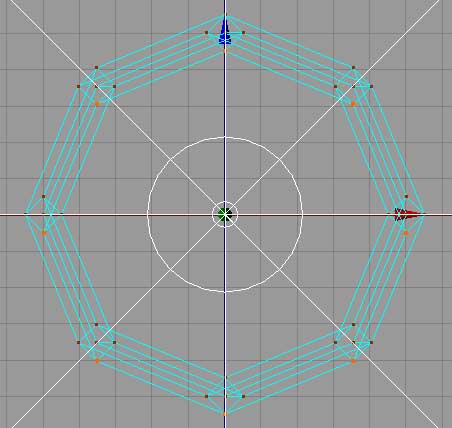
Step 12:
Select the fourth sets of rows (shown above) and move them -5 units in Z. The second picture shows the results from the TOP view.
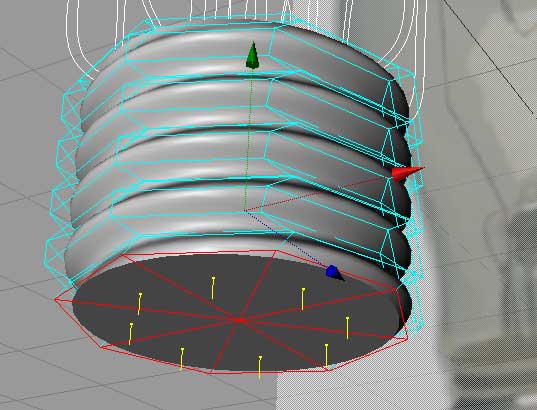
Step 13:
Add a HyperNurbs object to the scene, and child your cylinder to it. You should see that it now has formed the shape of screw threads. Hit F1 to switch to perspective view, and orient your view so that you can see the bottom polys of the cylinder. Switch to Poly mode, and then chose the Live Selection tool (pointer). Make sure that Only Select Visble Elements is ticked off in the Acitve Tool pane. Select the 8 polys at the bottom of the cylinder (as shown above).


this site works
best on Firefox: